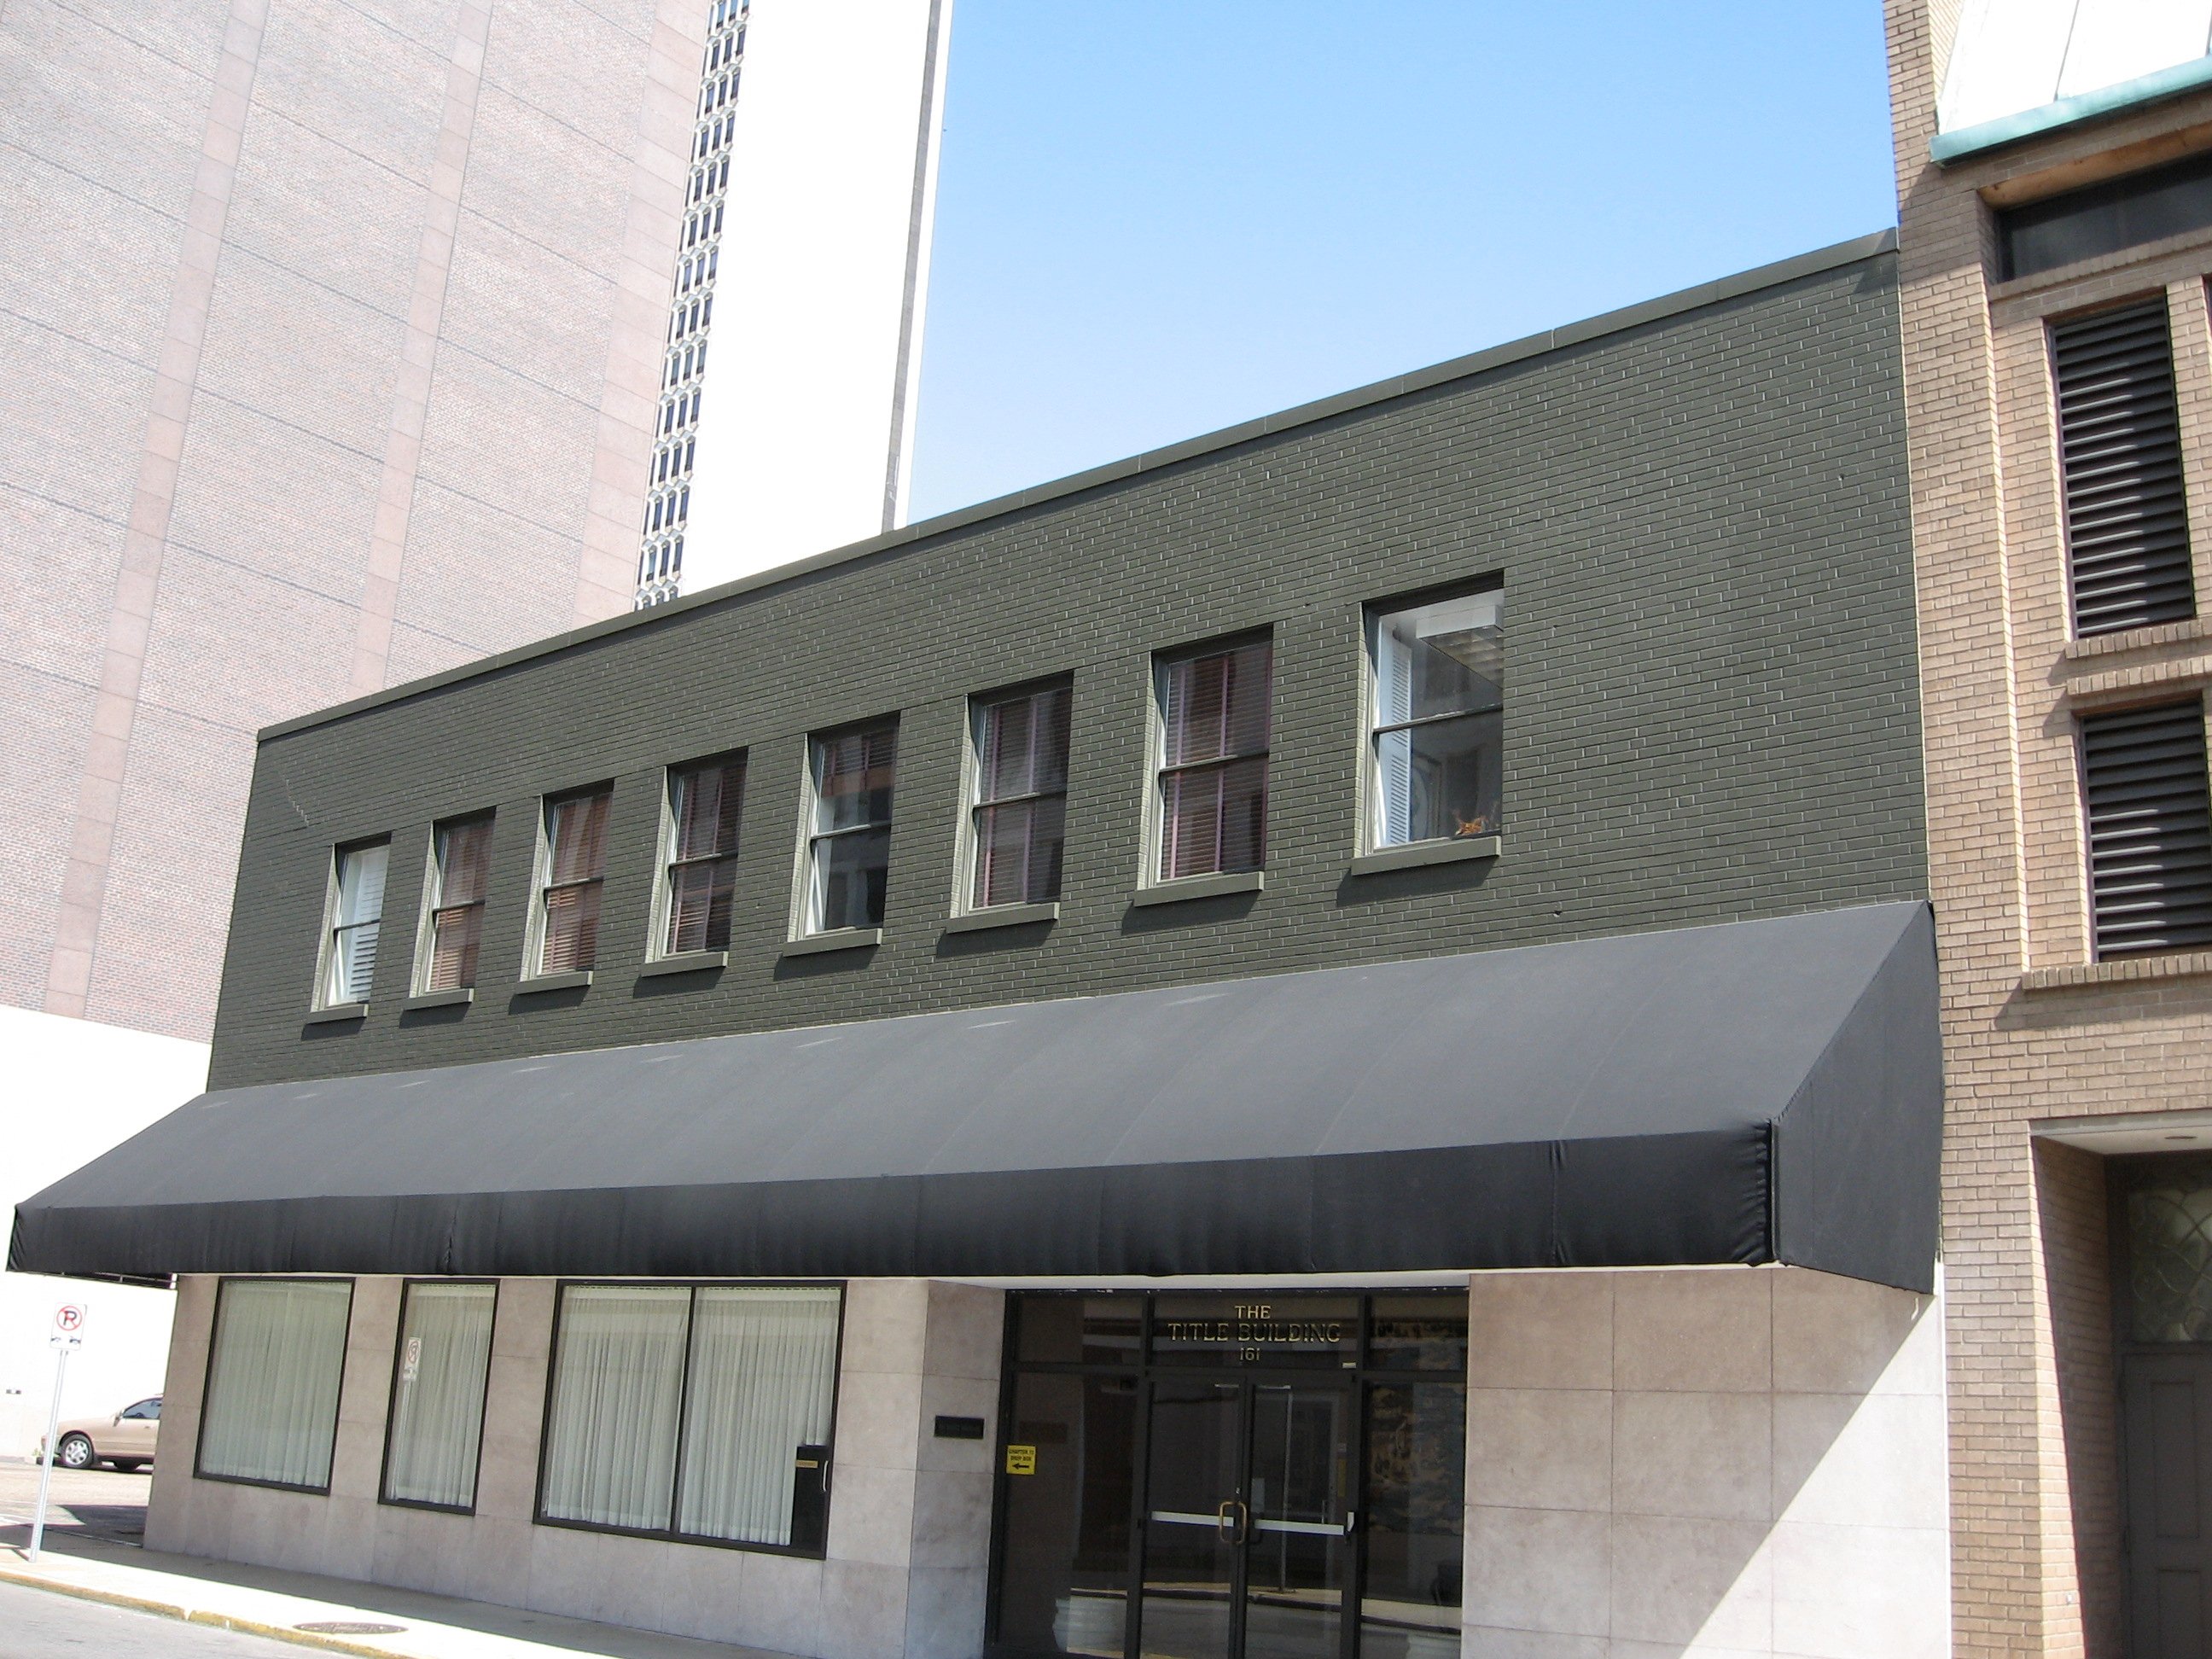
In just the last 3 – 5 years, painting over brick has become a popular trend in home improvement and exterior design. It's an effective way to update the look of your home or business, breathe new life into older structures, and enhance curb appeal.
Because of this increased demand, we at Rhino Shield are often asked, “How do I paint over my brick?” and “What are some things to look out for when painting brick?” We’ll answer both these questions and give you a step-by-step guide on things you absolutely need to know when considering applying a new coating to your brick surface.
The Process of Coating Exterior Brick
- Cleaning the Brick Surface
Before any painting can begin, the exterior brick must be thoroughly cleaned to remove dirt, mold, and mildew. Due to its porous nature, brick can hold moisture and contaminants if not properly cleaned and dried. This trapped moisture can undermine the integrity of the paint and lead to coating failure.
For bio growth, pressure washing alone may be insufficient. Pretreating mildew or algae and removing it with brushes may be required.
Cleaning the brick surface is essential, but it's equally crucial to allow it ample time to dry completely. Good contractors will use a moisture meter to confirm if the brick is dry.
- Checking Mortar Condition
Mortar plays a crucial role in the stability and appearance of brick structures. Before painting, inspect the condition of the mortar joints between the bricks. If you notice deteriorating mortar, you’ll need to address it. This may involve tuckpointing before you can start painting.
Tuckpointing is the process of replacing damaged or old mortar with new mortar. For exposed brick structures without a protective coating, tuckpointing will be required about every 25 years. However, applying a durable and water-repellant coating can significantly extend the lifespan of your mortar, or sometimes even eliminate the need for repair.
- Sealing the Pores with Primer
The key to successfully painting brick lies in sealing its pores to prevent moisture, mold, and mildew from penetrating the surface and compromising the paint. Choosing the right primer is critical, as it should penetrate the porous brick and bond with it to effectively seal its surface.
At Rhino Shield, we use a specific primer that excels at soaking into, bonding, and sealing the brick’s pores. To ensure thorough coverage and absorption, the primer is then backrolled onto the brick surface with a paint roller.
Due to the high porosity of brick, it may be necessary to apply two coats of primer to ensure optimal paint adhesion. It ultimately depends on the type of brick you are using. This additional step helps seal the surface thoroughly and prepares it for the topcoat. Installation professionals can assess your specific needs and apply the right amount of primer for the best paint results.
- Applying the Topcoat
Brick's textured surface requires more paint than many other materials to achieve an even coat. We recommend using approximately 25% more product on brick than on other substrates to ensure proper coverage. This step is important for achieving an even coat.
- Choosing the Finish
Finally, consider your preferred finish. While matte finishes are common for brick, some customers may prefer a satin finish for a slight sheen. Discuss your preferences with your painting professional to achieve the desired look.
From making sure the brick is properly cleaned and dried all the way to applying the right type and amount of products, it’s easy to see why hiring a professional is necessary to avoid complications. Check out this article if you want to learn more about how our Rhino Shield product is more effective than traditional paint at protecting your brick structure. If you’re looking to upgrade your home or business’s exterior, contact a local Rhino Shield installer by scrolling down to get a free, no-obligation quote.

